How to add a portlet to a page
- 100%
- 6.0
- Enterprise
- Community
Planned
Overview
A portlet is an ASP.NET web control that appears as a box on pages. Portlets can display custom layouts and implement custom application logic. The most simple portlets are used to present Content and Content Collections. Sense/Net Pages are mostly built up of Portlets - they are the basic building blocks of Pages. Building custom pages is done by placing various types of portlets in the page layout. This tutorial shows you how to add a portlet to a page.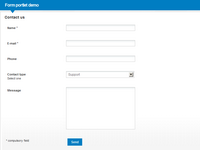
Steps
1. Create a portlet page
First we create a portlet page. Here we show you the brief steps how to do it, but you can also read How to create a simple Portlet Page for more information.
Open the Portal Remote Control on the main page of the default site and click the 'Add new' button.
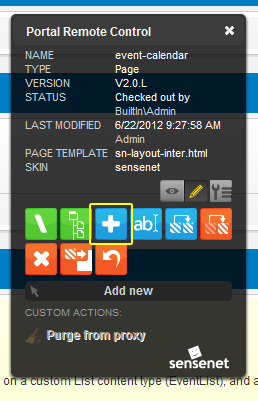
Choose Portlet Page from the list. Give it a Display Name (eg.: test page), choose a Page Template (eg.:sn-layout-intra.html) and a Skin (eg.: sensenet).
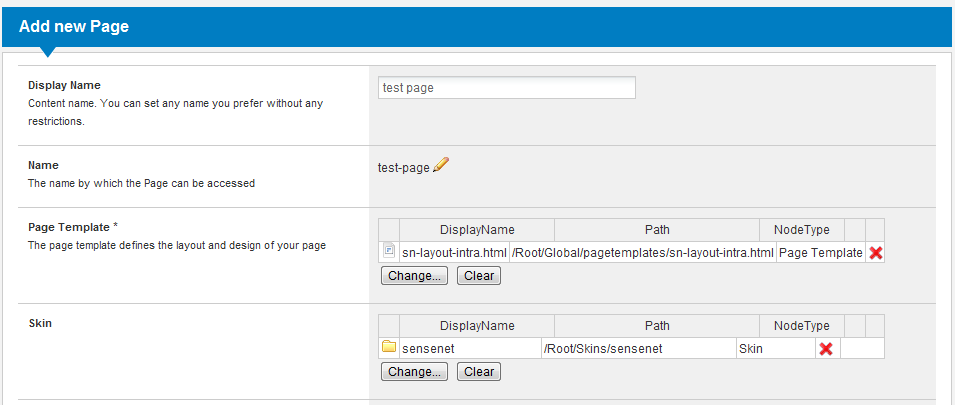
After clicking 'Done editing' your page is ready to put some Portlets on it.
2. Browse the new page
Let's browse the newly created empty page! The easiest way to do this is to type the path of the page in the address bar of the browser:
Another possibility is to enter the Content Explorer and navigate to the page. It should be under the default site since we have created it there. Select the test-page and click its Browse action to browse it!
3. Switch to edit mode
To see zones of your page and add portlets to them or modify portlets you must switch to edit mode. Click on "Switch to edit mode" on Portal Remote Control:
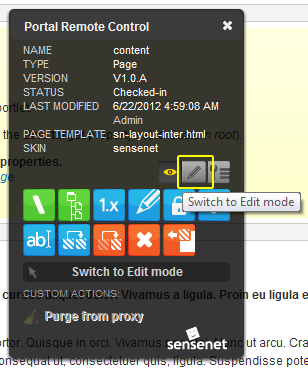
After that all the zones of the page become visible:
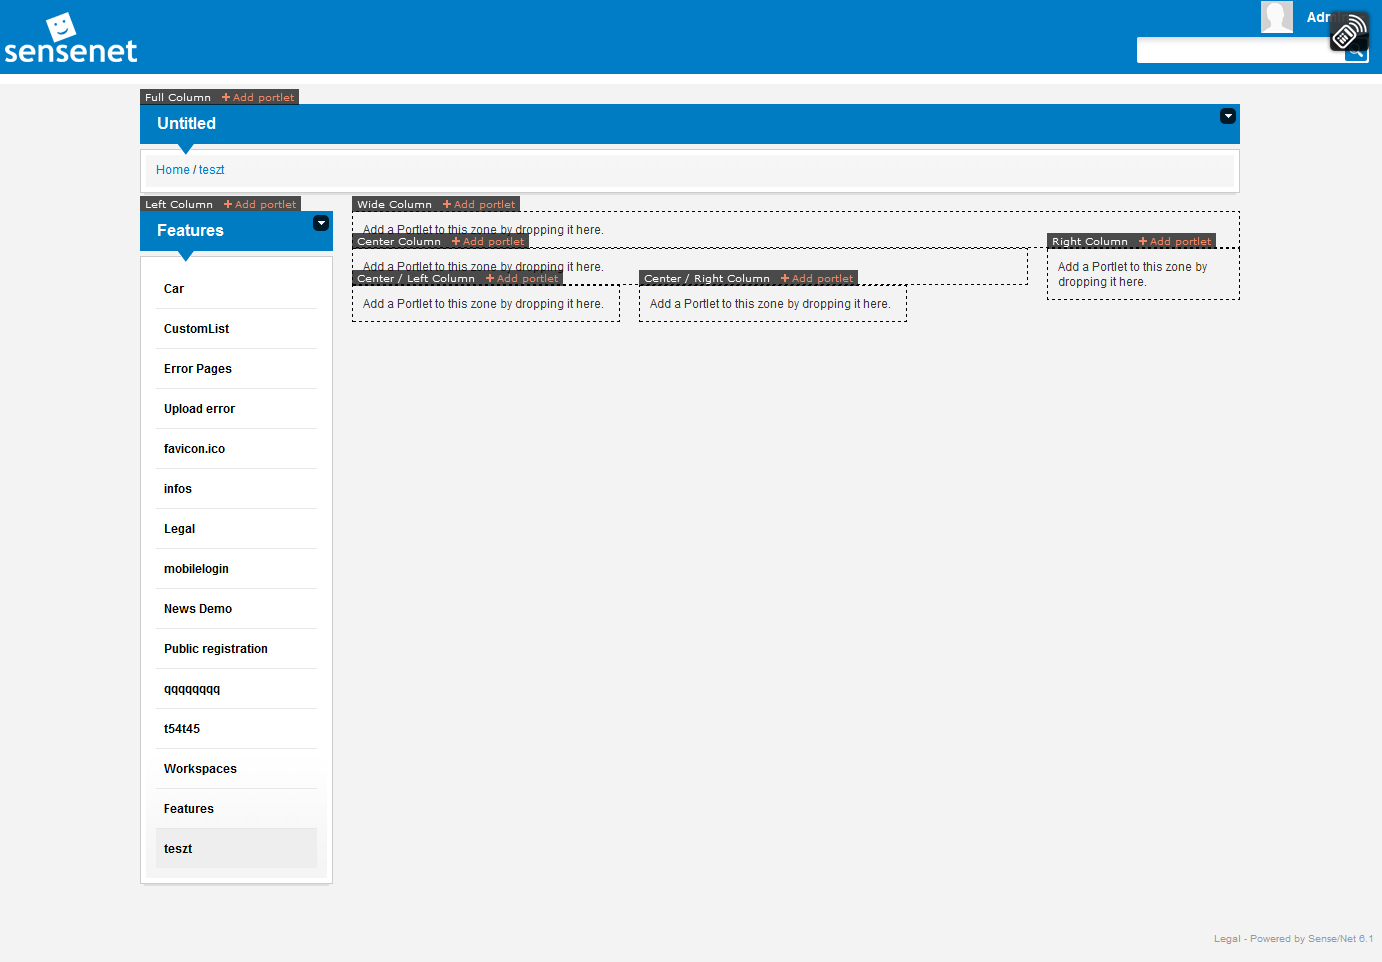
4. Add a portlet into a zone
Every zone has an "Add portlet" link next to its name:

If you click on it you will see a picker window with a tree. The portlets are organized in a tree by function. You can search portlets by clicking the Switch to search mode. Click on the portlet that you want to add:
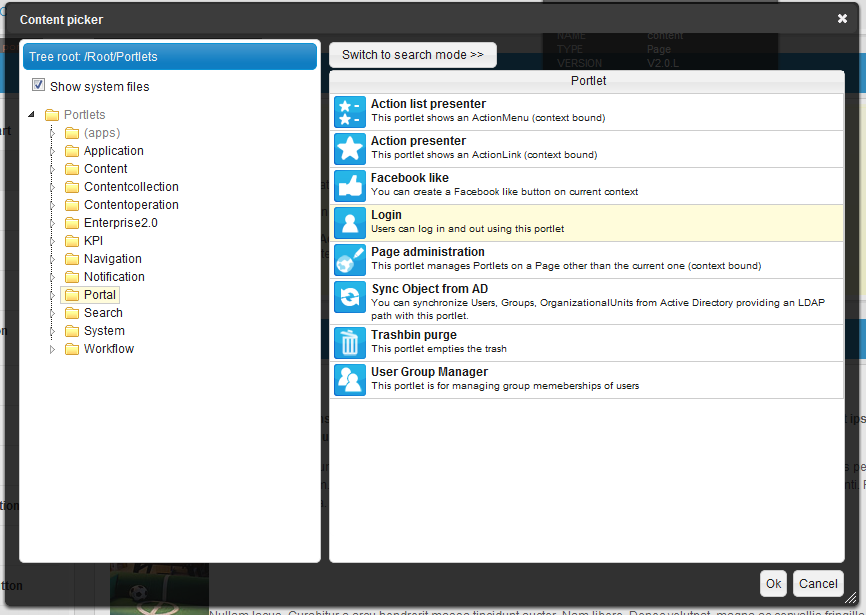
In case you do not find a portlet in the Portlet picker, it may not be synchronized. Please go to /Root/Portlets in Content Explorer and select the Synchronize action from the Actions menu. You will find all portlets there that have not been synchronized yet to the Content Repository.
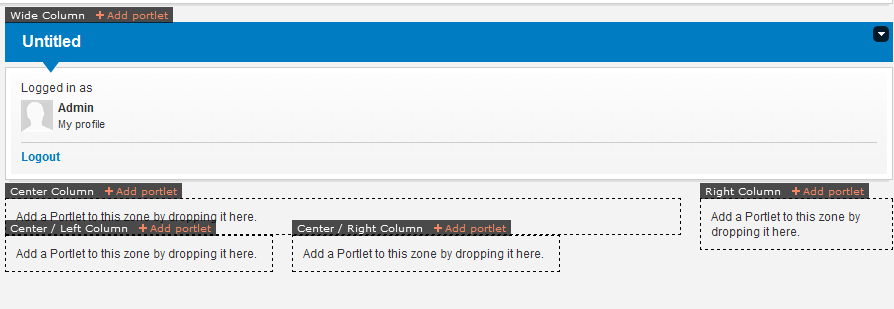
Click ok and then you'll see the portlet on your page at the top of the chosen zone:
5. Configure portlet
If you want to modify some portlet properties click on the menu in the top right corner of the chosen portlet:
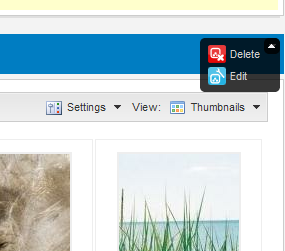
Choose edit and then you will see the portlet editor dialog:
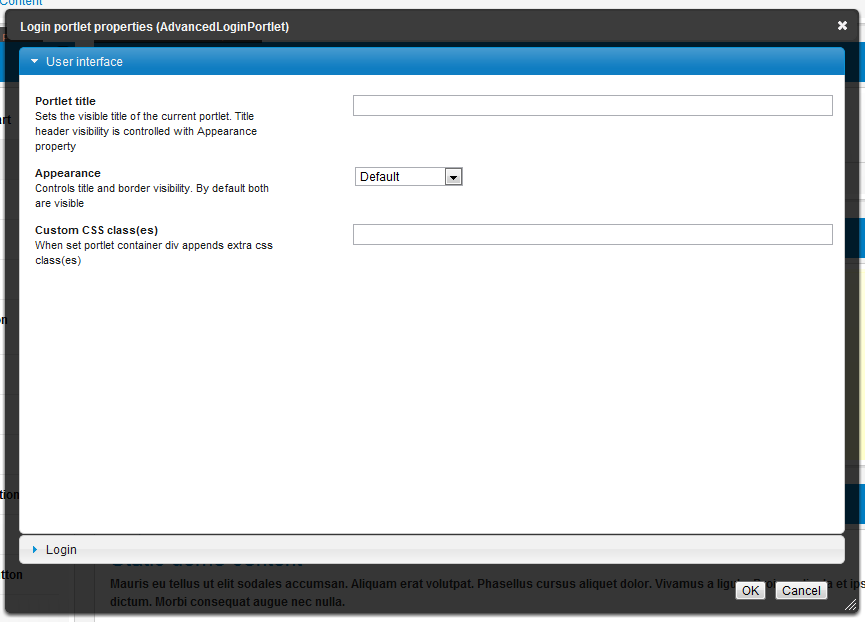
Here you can see the adjustable properties organized into tab pages. If you click ok the portlet will be updated according to the specified properties.
6. Save the page
When you're done editing the page and want to make changes visible for other users click on Check-in on the Portal Remote Control.
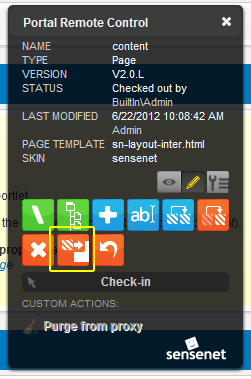
If you have saved the page, the page will be published and you can not undo the changes you've made.
Related links
References
There are no external references for this article.
