How to install Sense/Net from web deployment package (IIS 6.0)
Installing Sense/Net on IIS6 is not supported from Sense/Net version 6.1
- 100%
- 6.0
- Enterprise
- Community
Planned
Overview
In this document we would like to guide you through the installation process of Sense/Net. We hope that you will encounter no complications during installation, or later on in working with Sense/Net. If you come across a bug by any chance, or have questions concerning our product, feel free to contact us at our forum.
This document describes the steps of installing SenseNet 6.0 on machines with IIS 6.0.
In case you use IIS 7.0 or IIS 7.5, please read the following howto: How to install Sense/Net from web deployment package (IIS 7.5 and IIS 7.0)
Steps
1. Start IIS Manager
Start the Internet Information Services (IIS) Manager (Control Panel/Administration tools)
2. Configure IIS
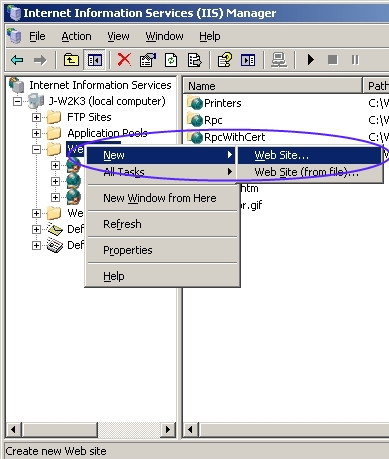
1. Right click Web Sites folder, select New Web Site...
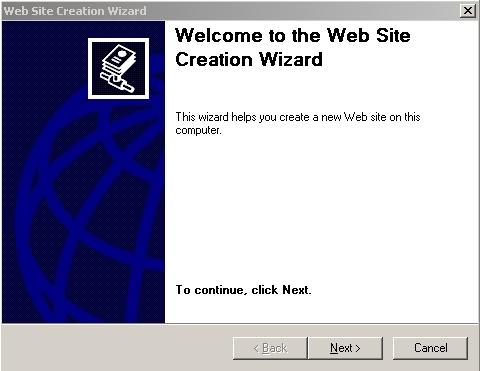
2. Next
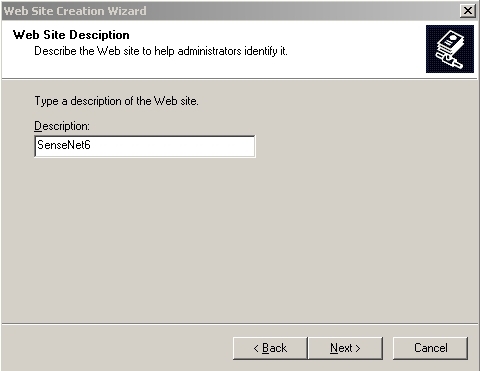
3. Add name of your web site,next->
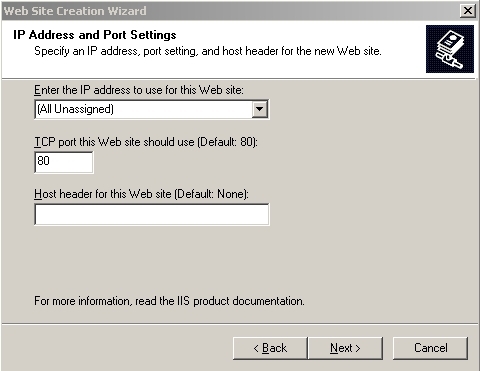
4. Next
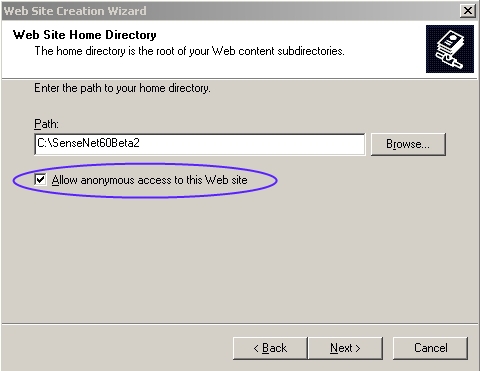
5. Give the sensenet6 path, and allow anonymous acces,next->
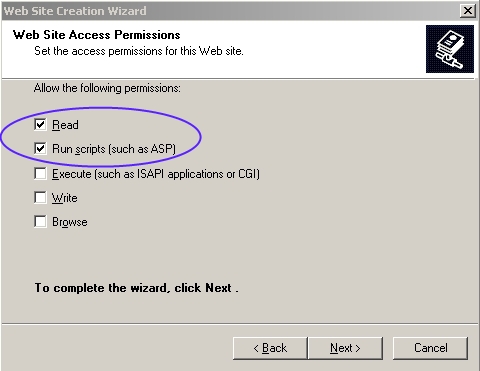
6. Check in read and Run scripts , next ->
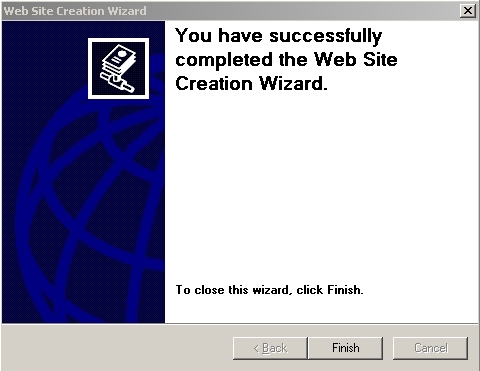
7. Finish
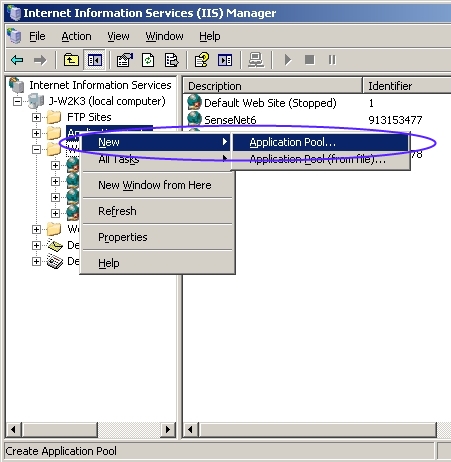
8. Right Click on the Application Pools, select New Application Pool.
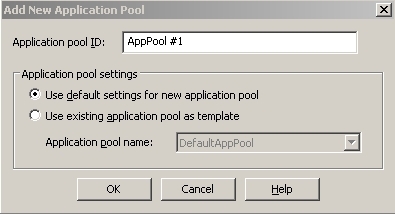
9. Application pool ID: SenseNet APP, click OK.
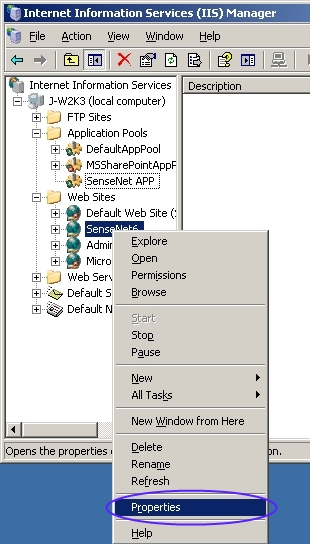
10. Now right click on your web site (SenseNet6) in Web Sites folder, and select Properties
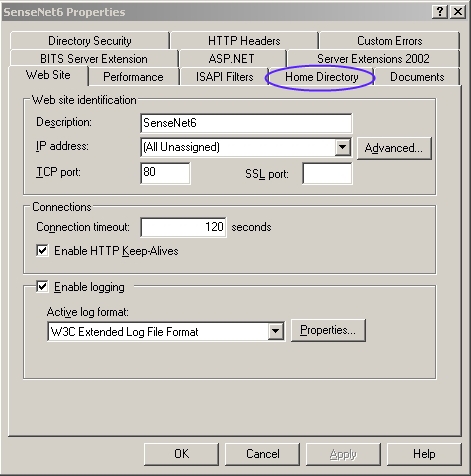
11. Select Home Directory tab.
12. Set the Application pool to SenseNet APP.
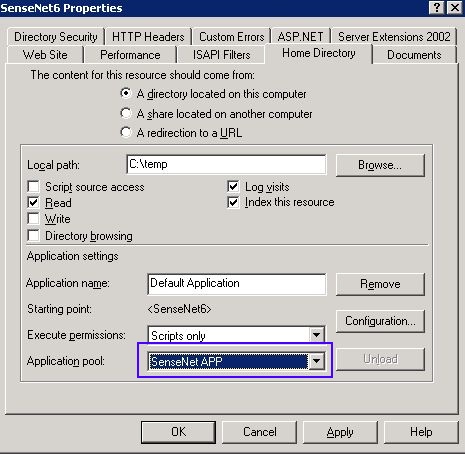
13. Click Configuration button.
14. Click Insert Button in the window that popped up.
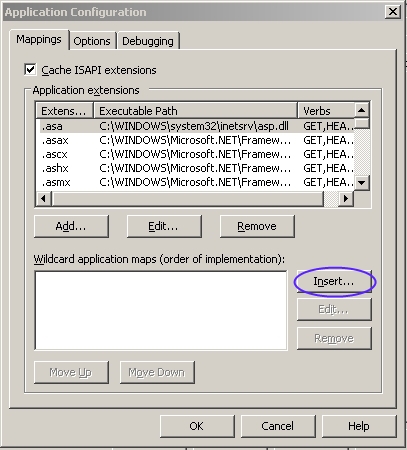
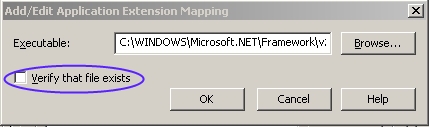
15. Give the "aspnet_isapi.dll" file path in Executable textbox (eg.:C:\WINDOWS\Microsoft.NET\Framework\v2.0.50727\aspnet_isapi.dll)
16. Uncheck "Verify that File exits" , and click OK.
Make sure you use the right path (this path can be different in different systems)
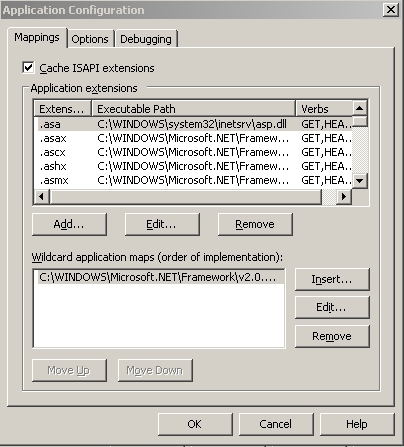
17. Click OK again.
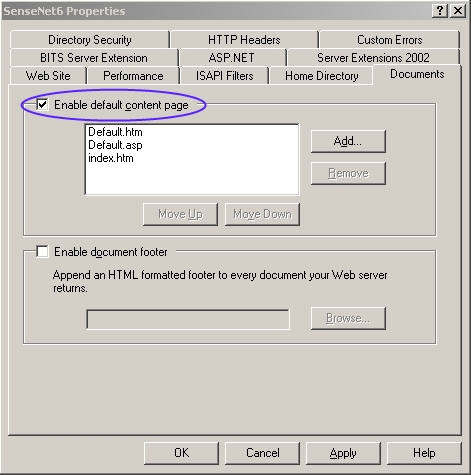
18. Go to Documents tab, and uncheck "Enable default content page"
19. Go to ASP.NET tab, check "ASP.NET version" (set 2.0..., if other is chosen)
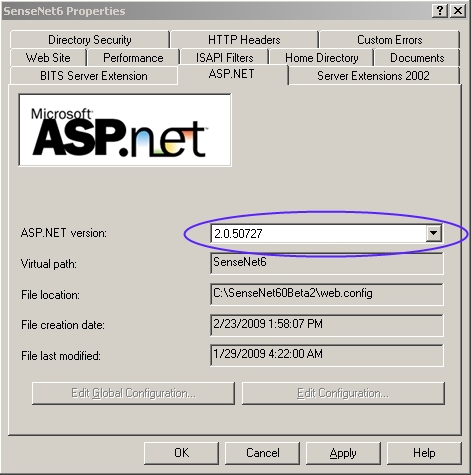
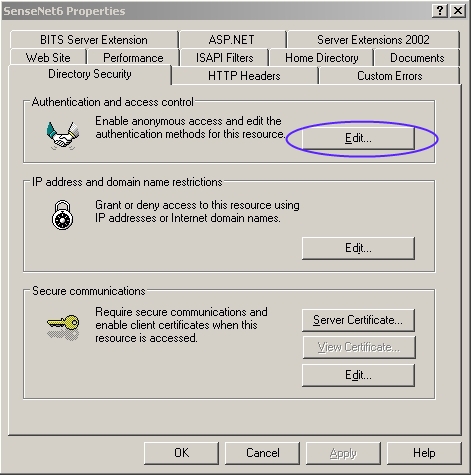
20. Go to Directory Security tab, click Edit button in Authentication and acces control area.
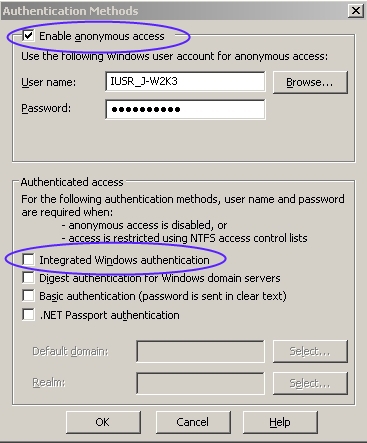
21. Check in Enable anonymous acces, and uncheck Integrated Windows authentication. Click OK.
22. Click Ok again.
23. Select your web site (SenseNet6), right click on Upload folder, and select properties.
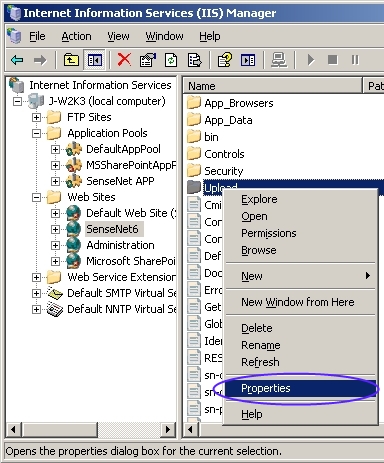
24. Check in Write, click OK.
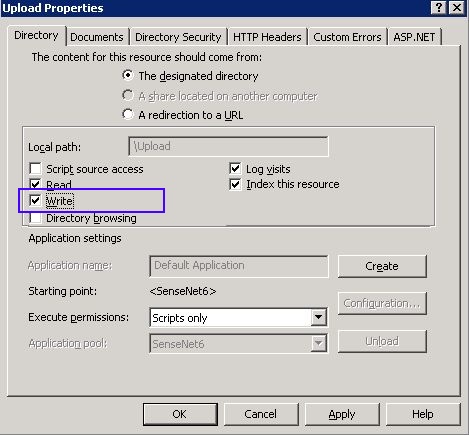
25. You are finished with IIS 6.0.
3. Deploy
To install the package under the site you previously configured, you have to use msdeploy from command line:
The Application path parameter should contain only your site name. Running as virtual application is not supported.
SQL Server Authentication must be enabled on your SQL Server instance.
msdeploy.exe" ^
-verb:sync -source:Package="PATH_OF_THE_DOWNLOADED_PACKAGE" ^
-dest:auto ^
-setParam:"Application Path"="SITE_NAME" ^
-setParam:"Data Source"="SQL_SERVER_INSTANCE" ^
-setParam:"Database Name"="SAMPLE_DB_NAME" ^
-setParam:"Database Username"="SAMPLE_USERNAME" ^
-setParam:"Database Password"="SAMPLE_PASSWORD" ^
-setParam:"Database Admin UserName"="SAMPLE_SA_USERNAME" ^
-setParam:"Database Admin Password"="SAMPLE_SA_PASSWORD"
4. Launch portal
From versions 6.0.8 after the import has finished, right click on the site and select Manage Web Site->Browse. The default site will load, your installation is finished.
For older versions, follow these additional steps:
- After the import has finished, right click on the site and select Manage Web Site->Browse.
- The portal loads and starts installing. The install should be complete in a few minutes.
- After the installation process is finished, click on Launch sample portal.
Video
Related links
How to install Sense/Net from web deployment package (IIS 7.5 and IIS 7.0)
How to install Sense/Net from source package (IIS 7.5 and IIS 7.0)
