Trash - for End users
- 100%
- 6.0
- Enterprise
- Community
Planned
Overview
Trash Bin is a temporary storage for content that have been deleted anywhere on the portal or even in Content Explorer. Trash Bin is also a special Content Type which has user interfaces allowing the user to browse contents, undelete or delete them permanently (one by one or more at the same time by the Purge action). Visit the main Trash Bin article to see all aspects of this feature.
Details
Delete operation capabilities
Delete operation allows users to transfer content (documents, folders or whole workspaces) into the Trash Bin - or delete them permanently.
- You can delete content that go to the trash.
- You can delete content permanently, without using trash.
- You can enable or disable trash locally or globally.
- You can enable or disable trash for a content type.
For more information about configuring the Trash please visit this article: Trash - for System operators.
Delete a document
You can access the Delete operation from several pages. Typically, you want to delete a document from the Document Library in a workspace.
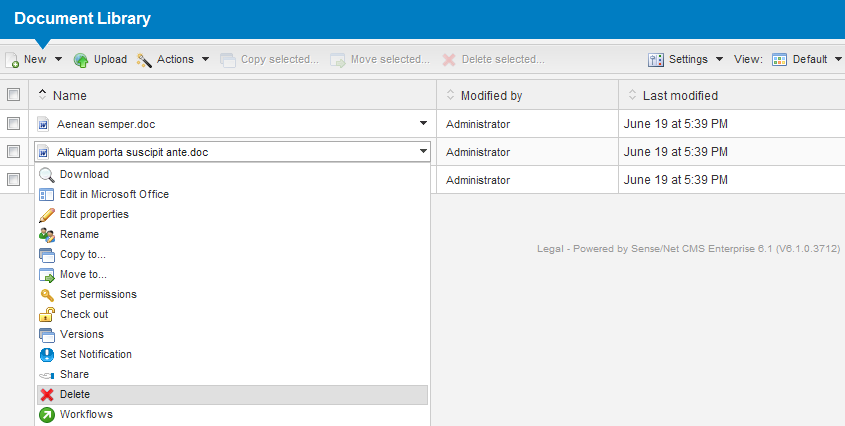
Deleting a single content
After you select the Delete menu item, a dialog page appears as you see on the picture below. It serves as a confirmation window. On this page:
- You see information about what to delete
- You see information about Trash Bin state (it is enabled for the container or not)
- You can delete a content permanently by selecting the checkbox which means your content can't be undeleted.
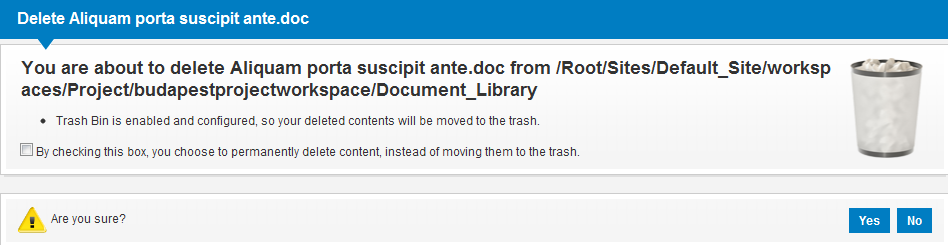
- By selecting Yes, your content will be moved to the trash or deleted permanently depending on whether the checkbox is selected.
- By selecting No, you will be redirected to the previous page without deleting anything.
Deleting more content
Deleting more content successfully
If the content contains one or more child elements you will see the following dialog.
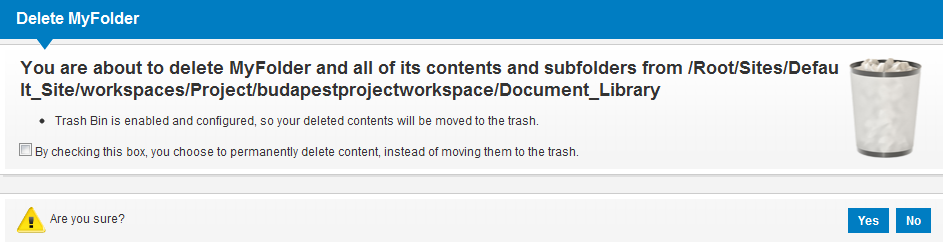
- By selecting Yes, your content will be moved to the trash or deleted permanently depending on whether the checkbox is selected.
- By selecting No, you will be redirected to the previous page.
Too many content
If the content contains more child elements than what is configured, you'll see a dialog as shown below.
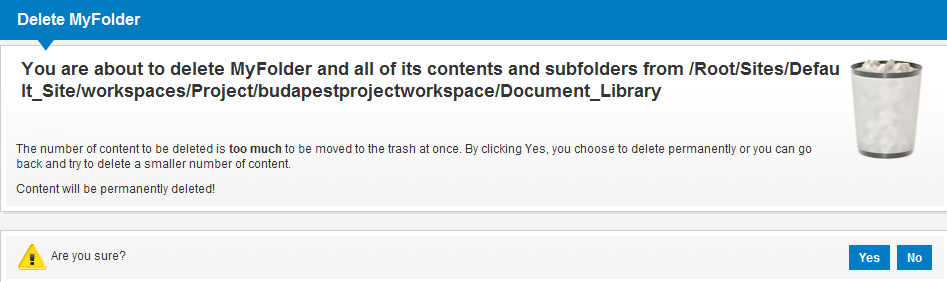
- By selecting Yes, your content will be deleted permanently.
- By selecting No, you will be redirected to the previous page.
If Trash is disabled
If the trash is disabled, you see information about the state of the trash. Be careful because you may delete a content permanently. Your content can't be restored in this case.
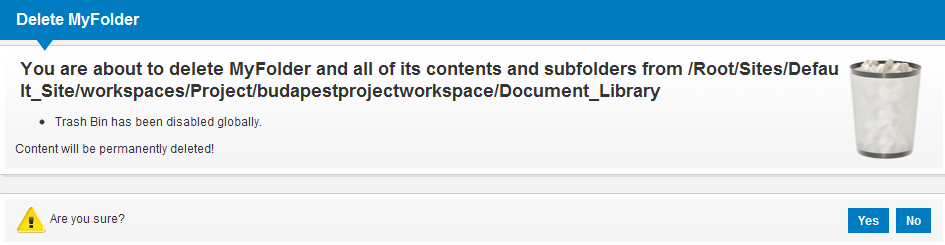
- By selecting Yes, your content will be deleted permanently.
- By selecting No, you will be redirected to the previous page.
Errors
The delete operation will display an error message if any error occurs while trying to delete content. The alerts come from various levels of the system. The picture below shows a possible message.

Restore content from the trash
You can restore trashed items in several ways:
- locate them in the Trash Bin and select Restore from the context menu
- select the item by clicking on it in the Trash Bin and click Restore button on the items page
- locate the item in Content Explorer and select Restore from the context menu
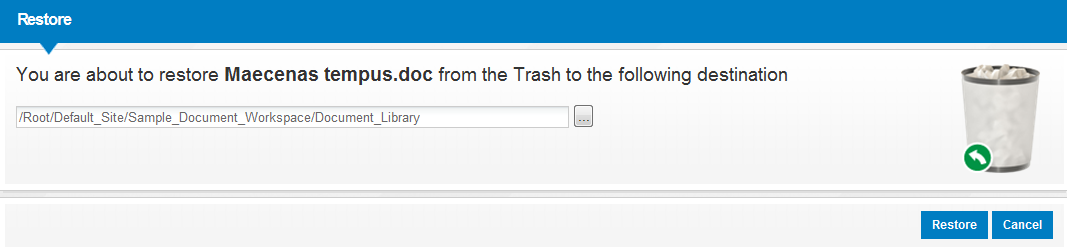
After selecting Restore, you get a dialog page where you can restore the content.
Restore content to the original location
On the Restore dialog page you can restore the content to its original location by clicking the Restore button.
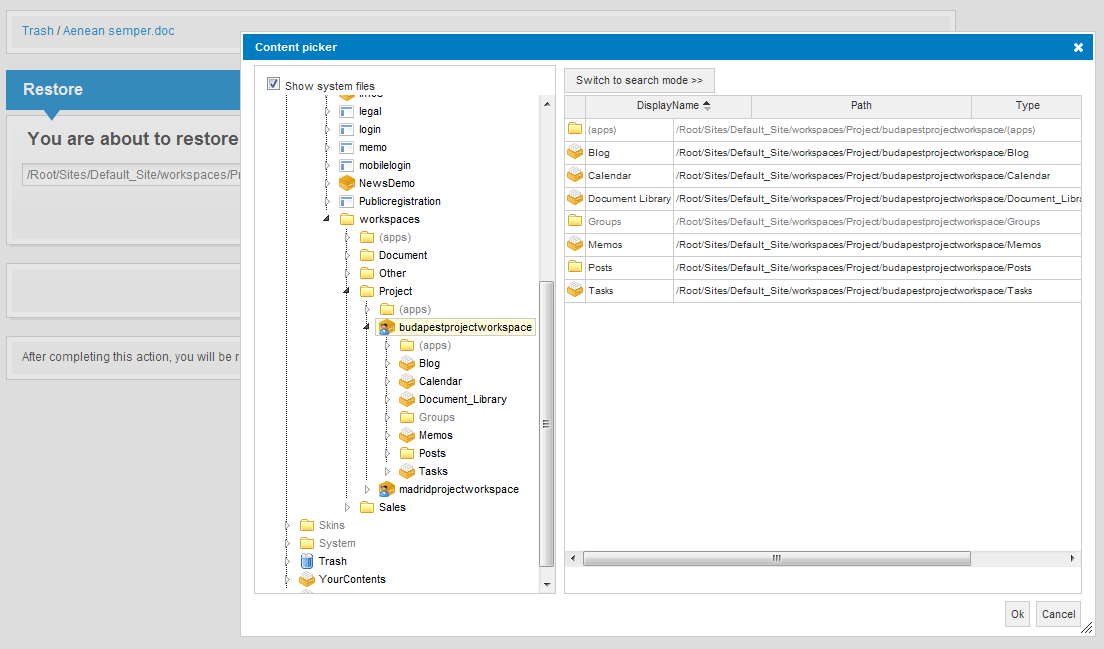
Restore content to custom location
On the Restore dialog page you can change the destination where the content will be restored. You can type the destination path manually or select the folder or list with the Content Picker.
Unsuccessful restore
If the restore operation fails, the possible reasons are:
- non-existing folder
- a file already exists with the same name
- you don’t have enough permissions to restore the file
Existing file
If there is a content in the destination folder with the same name as the content you want to restore, than you have two options:
- go back to the Restore page with pressing the Ok button and choose a different destination
- restore the file with a new name as it is suggested on the error page, with pressing the Restore with new name button.
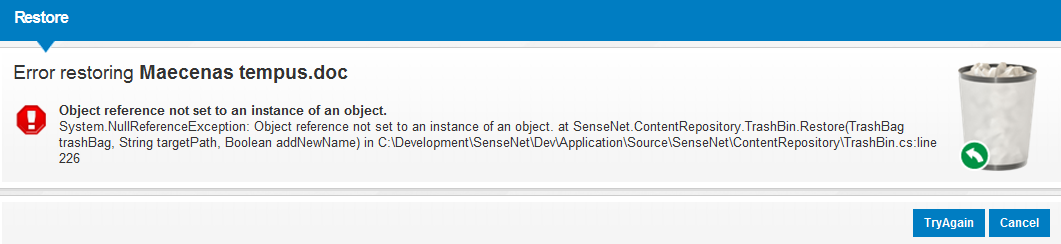
Unknown error
If the restore operation fails with an unknown error, you can try to restore the content later.
Related links
References
There are no external references for this article.
